Saturday, August 21, 2010

Mini Blobness Gets Adjustments

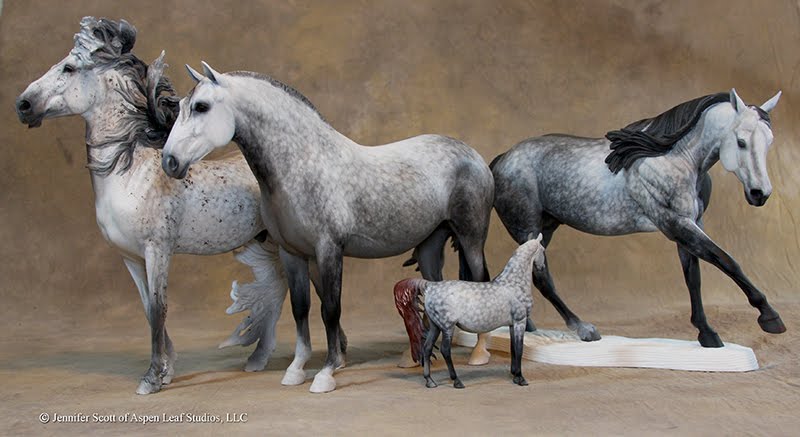
So here's an update on our "Mini Blobness" series. We're looking at all the different stages and work that goes into creating a "Mini Darcy" from a small wire armature and Aves Apoxy Sculpt. I've been working on other projects - like getting out resins and painting commissions that I haven't done much work on her at all since our last update. However, I felt this part deserved a post to fill people in on how I'm "matching" Darcy.

It helps to have the big Darcy modeling in front of me while I sculpt on the mini, however even though I've already sculpted her once, seeing it again in a different scale is not as easy as one might think. I'm close, but I want exactness!

Photos of your piece can be an invaluable tool if you have a good camera that will not distort your item being photographed. One, you'll see the piece in a clear picture with a new eye. There's something about a different setting that recharges the eyes. I've heard people using mirrors for this too, but there's a reason I like photos better.

Superimposing!


By placing the picture of the original Darcy on top of the picture of Mini Darcy (or vice versa) and then turning down the transparency I can see exactly where I'm off. Close is no cigar! Lots of things were pointed out to me - the head and poll needed to be moved up, the front legs needed to be moved forward as well as shortened and the chest needed to be extended forward  a smidge, the back needs some slight straightening, though at least the length is correct, the tail extends to far out so it will need to be trimmed, the rear legs are too thick at the stifle and gaskin and need trimming as well, and the rear cannons' angle needs to be larger as well as the the length needing shortening. I learned *all that* just by putting the two photos together. Talk about a time saver!

So, the work begins! Here is where I miss my non-hardening J. Mac. clay/wax mix. You can't exactly squish and move cured Apoxy so, we slice into and break until I can bend the armature wires into submission! Her head no longer has enough support to hold it's weight in place so I'll need to be careful about getting the angle/placement right when I put Apoxy back around there.


Let the sanding and resculpting begin.

Tuesday, August 17, 2010

Domination of the Dapple Grays!

Yes! This August my studio is being dominated by all the dapple grays getting finished up and hopefully ready to go out the door by the end of the month. Another appropriate title would be "Death by Dapple Gray".


My poor white oil pencil keeps getting shorter and shorter. Pretty soon it will be just a little nub of a thing and I'll have to toss it. I hate tossing pencils. I will work with them until I cannot find a sharpener that will get the job done - usually leaving me drawing with a little 3/4" stub of a pencil, fingers protesting at working with such a small object.

Any artist will tell you that dapple grays are the hardest color to paint. They've definitely been my personal challenge for the last decade. However, something crazy happened while working on the Stormwatch. I had my airbrush base roughed on in there and was taking my white paint to try to tone some of the darkness down when my hands started to move of their own accord. Seriously. I remember thinking to myself, "That's odd..." while I watched them go. Within 30 min I had a section of blocked in dapples that looked fantastic. Now white painted on top of things tends to make a blue gray hue so I took some pigment and dry-brushed burnt umber and black into areas to warm it back up. Add another layer of finely painted white hairs on top of it, add cool contrasting flea-bites and bam! I had a dapple flea-bitten gray I could be proud of.


Of course I couldn't stop there. I got to thinking, "What if I did this?" and "What if I did that?" and had to grab the next commission order that had been neglected due to the complexity of it's color - a portrait gray on an Esperenza (the original) body. This order has been gnawing at me for a while, but I have learned from experience that when I struggle with a horse, just set it down and there will come a time when everything will fall oh-so-easily into place and the end result will be a million times better than if I were to have sat there and fought with it. Sure enough, this piece's time has finally come and I am moving on her! I feel I've matched the owner's mare perfectly! I've already painted over the other side of the piece and the areas already started to continue on with this new technique.


Here is the mare that she's a portrait of:

The last two pieces are sales pieces - the Rose Reiner and the Mini Ziryab. Mini Zyrab was another experimental piece and while I like the look of her, she's a different technique than the two above. I'm also working on a Rose Jezebel in dapple rose gray using the above technique and I'm finding out it doesn't lend itself as well to that small small scale. This is the reason I call them experimental pieces. I learn what works and what doesn't on what scale. I think I'll try a hybrid of the two techniques next time on a mini and see how it serves.

Mini Zyrab painted with wet on wet oils and then pencil detailing on top:

I'd like to see her dapples smaller and less uniform, but I'll continue onto her other side with the intent of matching this one. I'll know for next time to shrink them up.

And below is the Rose Reiner sales piece done in a more contrasty darker dapple gray with a lighter fore.


So I guess the story of this whole bit is that even if you have been painting forever, it's good to try new things out. The learning process is NEVER over and there is always room to achieve more. I for one am excited to start applying this technique over different base colors - I have a Gomez I am customizing for my own show string that I'll be painting dappled buckskin going gray. I'm eager to see if this technique will translate!